Please inspect some ArText files at <ARXF_CP_V8.0.1 installation folder>\ARXF_CP_V8.0.1\Samples\Autosar\ArText\RXFSimple-artext which come with this product for informational purposes only. These will help you understand what to configure in your AUTOSAR tools:
- the file swscs\SwcB.swcd
- the files Composition.swcd, Interfaces.swcd and RXFEcuExtract.sysd
Configuration Simulation
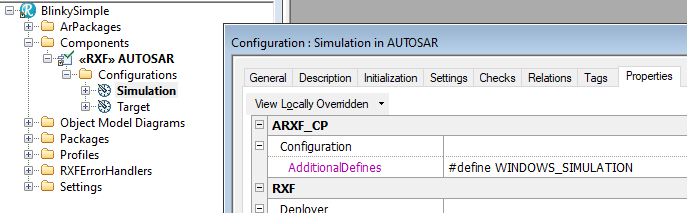
The Configuration Simulation can be used to build and run BlinkySimple within Visual Studio. The Configuration has the property ARXF_CP::Configuration::AdditionalDefines set which will end up in a generated RXF_Config.h so we can enable Windows specific code, for example printf() statements shown in the console by Visual Studio.
In case you do not have Visual Studio, you can install it for free, for example Microsoft Visual Studio Express 2017 for Windows Desktop.
If the Deployer does not launch Visual Studio automatically, browse to the folder
<ARXF_CP_V8.0.1 installation folder>\ARXF_CP_V8.0.1\Samples\Autosar\Model\BlinkySimple\IDEProjects\Autosar\Simulation and select the solution file BlinkySimple.sln
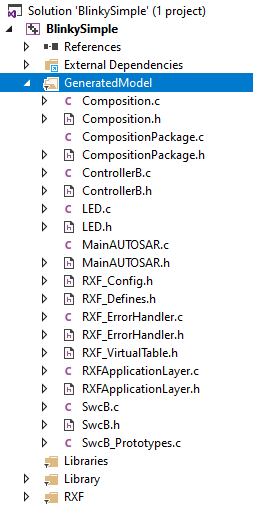
The Visual Studio project BlinkySimple will automatically be updated and show the folders GeneratedModel, Library and RXF.
The folder Library is used for a mini-RTE using Windows threads to call your runnables.
Select Build | Build Solution which will result in a BlinkySimple.exe which you can debug.
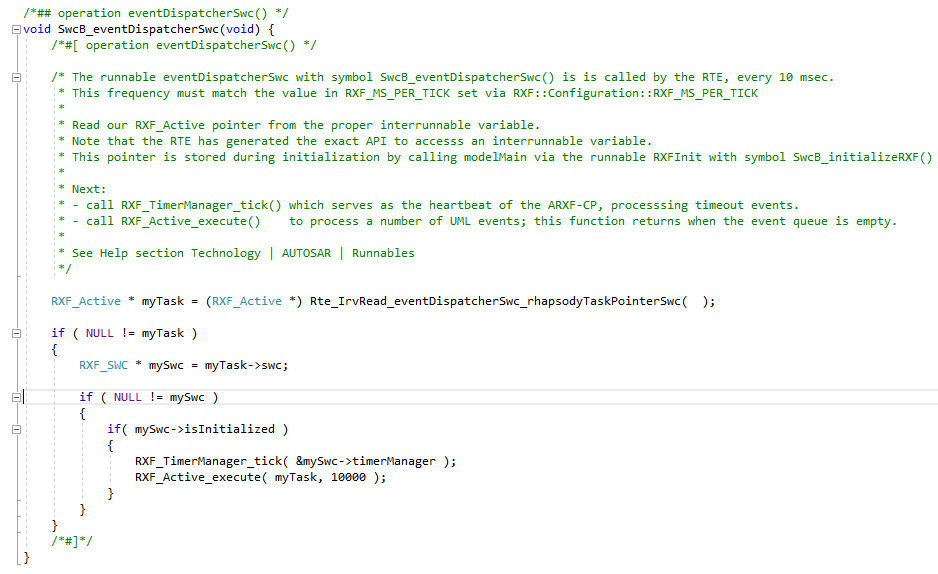
- doubleclick on GeneratedModel\SwcB.c and set a breakpoint at SwcB_initializeRxf(), SwcB_eventDispatcher(), SwcB_eventDispatcherSwc()
- doubleclick on GeneratedModel\LED.c and set a breakpoint at LED_on() and LED_off()
Select Debug | Start Debugging. Watch the breakpoints being hit and also inspect the Threads window.
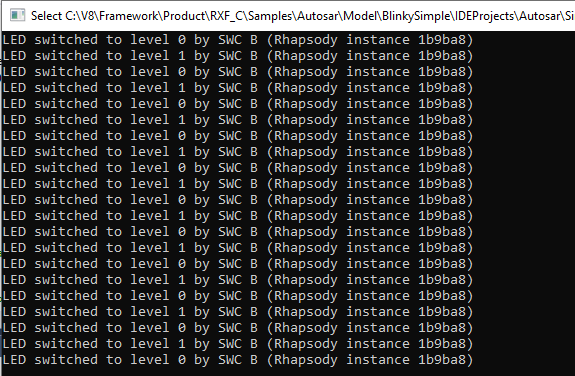
The LED being switched on and off is simulated using printf() statements in LED.c which are shown in a command window.
Please continue to the Blinky example