Configuring ReqXChanger
In order to configure the options, launch ReqXChanger
- Configuring ReqIF Options:
- Click the button Import from > Requirements: ReqIf 1.0.1 > Options...
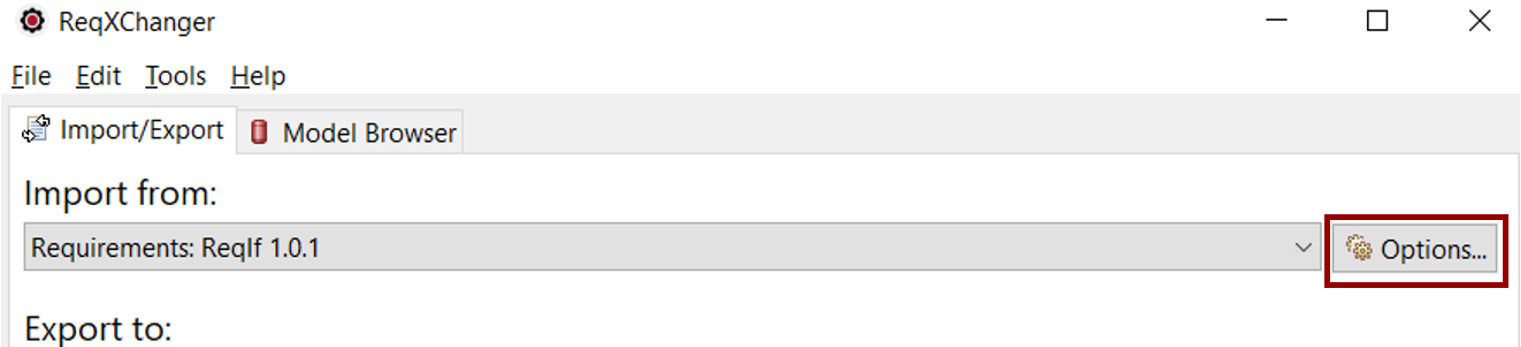
- Set the ReqIF Source File from which requirements will be created in Enterprise Architect.
The ReqIF Options page can be closed once the ReqIF Source file path has been specified, by clicking the OK button.
- Configuring Enterprise Architect Options:
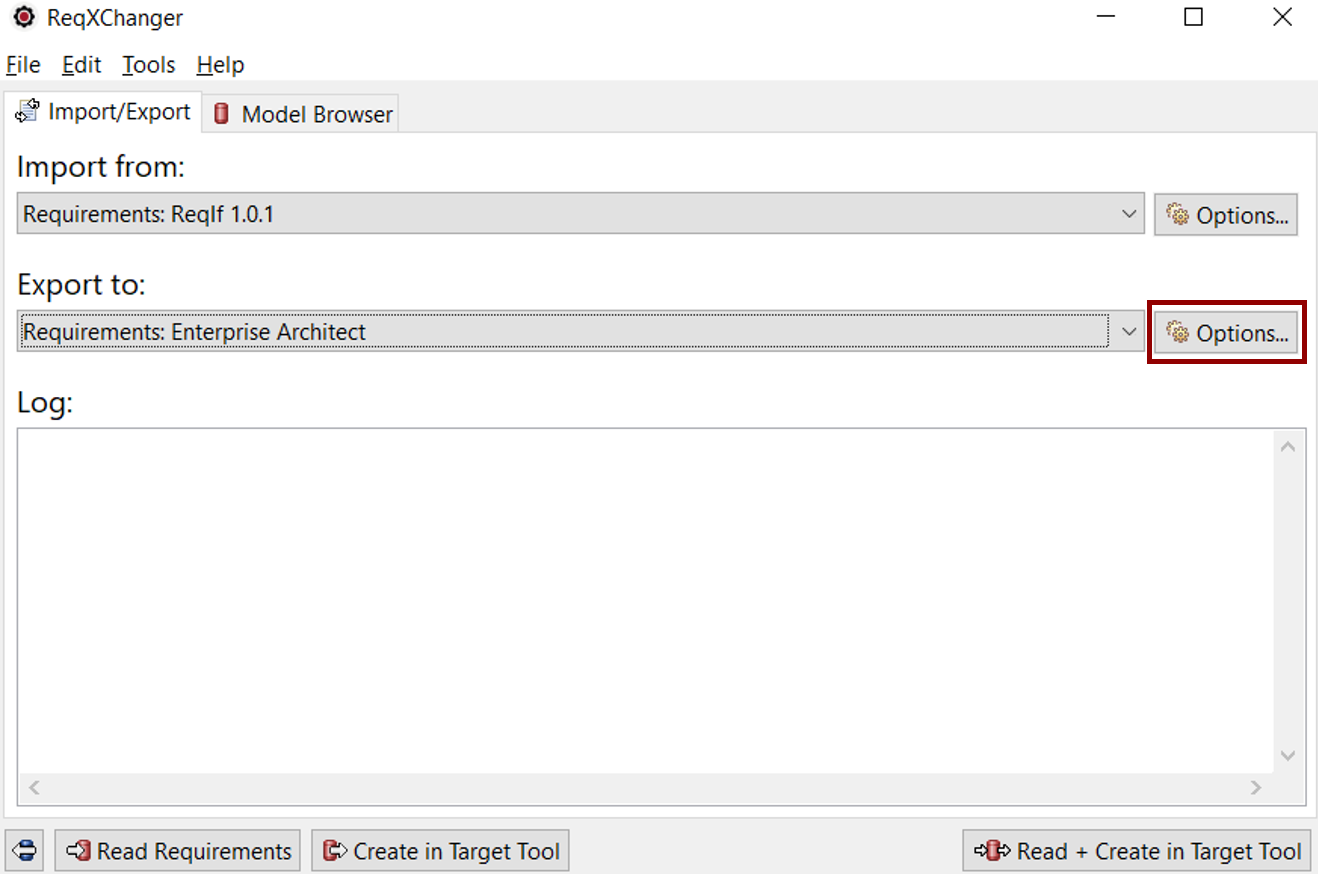
- Click the button Export to > Requirements: Enterprise Architect > Options...
- Select the menu EA Repository.
- Set the Java API eaapi.jar option. It corresponds to the path to the Enterprise Architect API jar archive. It can be typically found under %ENTERPRISE_ARCHITECT_INSTALL_PATH%\Java API\eaapi.jar.
- Set the EA Repository option. It corresponds to the path of the EAP (EAPX) file, Enterprise Architect file where Requirements will be created.
- Set the Model Name option. It corresponds to the name of the Enterprise Architect Model.
- Set the transformation Mode. This will load a preset of recommended options for a specific tool or purpose.
If the ReqIF file has been created from DOORS, select the DOORS Mode.
If the ReqIF file has been created from Polarion, select the Polarion Mode.
If properties of the Advanced menu are modified, the Custom mode will be automatically selected.
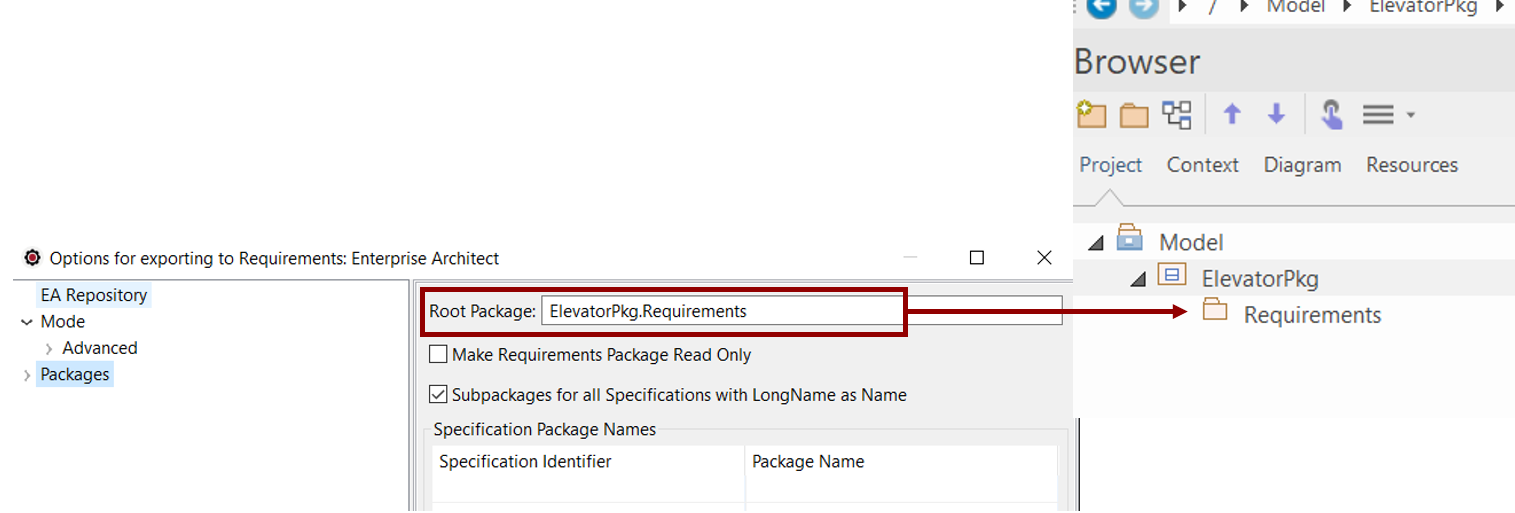
- Set the Package where to create Requirements. Set the Packages > Root Package option.
In the following screenshot, Requirements will be created in the "Requirements" Package, owned by the "ElevatorPkg"
- Unselect the checkbox Export only Specifications with Specification Package Name.
The Enterprise Architect Options page can be closed once the Enterprise Architect parameters have been specified, by clicking the OK button.
For more information on ReqXChanger options, see the Preferences documentation.